Introduction, start! My name is James and I'm several things. Here are some of them: a student, lazy, and very keen on beer. How do these three things coalesce into a good idea for a blog? I'm not sure, but it's here anyhow. I want to help you brew beer to the best of your abilities. First off? Equipment. You will need it. Nothing I'm going to be listing is optional. This is bare bones stuff right here. No fancy stuff.


#1 - A glass or plastic carboy
This is a carboy. I use 5 gallon glass carboy as my primary fermentation vessel, but, as I mentioned, there are plastic ones available as well. I can get one at a local brew store used for about $35.00, but I've seen them for sale online anywhere from $25.00 to $40.00. This is your workhorse and will see your malty/sugary concoction go from nasty smelling syrup to beer ready for bottling.
#2 - A hydrometer
Enter the hydrometer. This measure specific gravity. I'll explain what exactly this does in a later post, but for now I'll just say that it keeps you from adding too much sugar (thus making sickeningly sweet beer) or too little sugar (resulting in an incomplete brew). This is the magic item that makes modern, scientific brewing possible. It's very valuable to you, so keep it safe. It's also incredibly fragile. Store it someplace safe. These go from $4.00 to $9.00 online, but I bought one just like in the picture at a local shop for about $3.00. You'll also need a test tube like the one below to test your wort and beer.
#3 - fermentation locks
Fermentation locks. These keep the air, and wild yeast or bacteria, from getting into your beer and contaminating it while it's brewing. Fill 'em with water, and you've got an effective barrier against such threats. Some books or guides might want you to fill them with Iodophor or other sterilizing agent, but this is an unnecessary risk. One drop of that stuff in your brew and all your hard work up till that point is completely wasted. You'll also need some rubber stoppers to form an air tight barrier like the one below. Be sure to measure the opening to your carboy and get an appropriate stopper for the size.
#5 - Sterilizer
If you want to make beer, you need to understand that sterile equipment is the key to everything. Seriously. This is the most important part! Sterilizing your carboy, bottles, etc. before use will be the main difference between getting beer or some nasty gunk that was supposed to be beer. There are some other alternatives like Craft Meister (an oxygen based brewing sanitizer), but Iodophor seems to be the most common and works just fine. It stains really badly, so don't wear your favorite shirt while sanitizing. Depending on the size of bottle you buy, expect to pay between $5.00 and $20.00.
#6 - Cleaning brushes

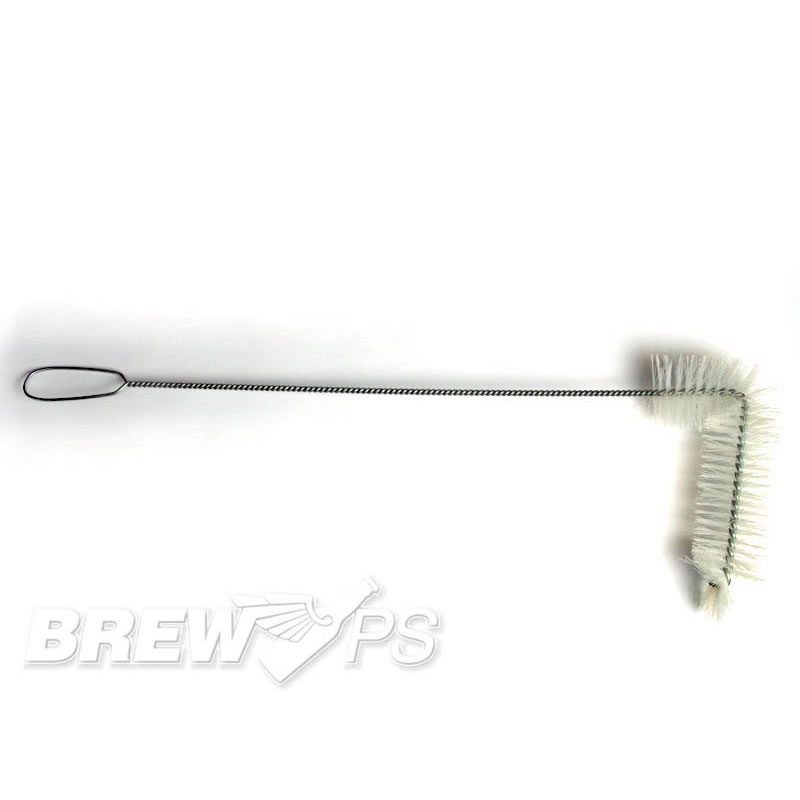
Grab some cleaning brushes like these to help clean then sterilize your carboy, bottles, and other equipment. They're not terribly expensive. The top one is for bottles and the one below is specifically carboys. It's practically impossible to clean a carboy without something like this. Again, not very expensive. The bottle brush can be bought for about $3.00 and the carboy brush for about $7.00.
#7 - An auto siphon

This is an auto siphon. It helps you get your brew from your carboy to your bottles/secondary fermentor/etc. without mixing air in. Really necessary for keeping your brew clean and makes bottling, the worst part of home brewing, a little easier. I would recommend shopping around on this one a little bit. I've seen them online for about $13.00, but there might be some for less. Perhaps looking into a different model might bring the price down.
#8 - Plastic/rubber tubing

This plastic tubing is for siphoning. Get some that fits your auto siphon and you're squared away in that department. I've got some that looks exactly like this. Odds are whatever you order will look much the same as well. Just make sure it's food grade. You don't want various odd chemicals seeping into your beer. As far as pricing goes, I'm not entirely sure. I got about 10 feet locally for around $5.00. It's get terribly expensive.
That is that as far as required equipment goes. With this and the perishable items required to brew beer, you've got everything you need.
Next post I'll go over what you need to actually make beer.
Don't be afraid to take the plunge into home brewing. It isn't scary and it sure is a lot of fun.... especially the end result.
- James
*Pictures from google
#6 - Cleaning brushes
Grab some cleaning brushes like these to help clean then sterilize your carboy, bottles, and other equipment. They're not terribly expensive. The top one is for bottles and the one below is specifically carboys. It's practically impossible to clean a carboy without something like this. Again, not very expensive. The bottle brush can be bought for about $3.00 and the carboy brush for about $7.00.
#7 - An auto siphon
This is an auto siphon. It helps you get your brew from your carboy to your bottles/secondary fermentor/etc. without mixing air in. Really necessary for keeping your brew clean and makes bottling, the worst part of home brewing, a little easier. I would recommend shopping around on this one a little bit. I've seen them online for about $13.00, but there might be some for less. Perhaps looking into a different model might bring the price down.
#8 - Plastic/rubber tubing
This plastic tubing is for siphoning. Get some that fits your auto siphon and you're squared away in that department. I've got some that looks exactly like this. Odds are whatever you order will look much the same as well. Just make sure it's food grade. You don't want various odd chemicals seeping into your beer. As far as pricing goes, I'm not entirely sure. I got about 10 feet locally for around $5.00. It's get terribly expensive.
That is that as far as required equipment goes. With this and the perishable items required to brew beer, you've got everything you need.
Next post I'll go over what you need to actually make beer.
Don't be afraid to take the plunge into home brewing. It isn't scary and it sure is a lot of fun.... especially the end result.
- James
*Pictures from google
Awesome!!
ReplyDeleteFollowing.
(take off the "!" of your twitter's redirect link to this blog)
see you.
Just found this blog through your profile, this post may come in handy for me! haha, cheers.
ReplyDeleteSweet, don't blow your house up though.
ReplyDeleteMy friend and I have also started homebrewing and we are now on our 6th or so batch! Too bad we have been using bread yeast up until two weeks ago since we couldn't find brewers yeast anywhere for a while. Our first batch with brewers yeast should be ready to rack in only a week or so. This batch is more of just a test batch to determine taste differences between said yeast and bread yeast.
ReplyDeleteThis is very interesting, following for sure :)
ReplyDeletebeeeer!
ReplyDeletei'm following now :)
I would like to find out how to brew.
ReplyDeleteFollowing!
i love beer. followed
ReplyDeletevery nice!
ReplyDelete